Essential Cricket Bat Care Checklist for Longevity
Cricket bats take a pounding every season and most players think a quick wipe with a towel is all they need. Surprise: even a tiny unnoticed crack or wrong storage can cut a bat’s lifespan in half. Smart maintenance does not just keep your bat looking sharp, it can actually mean the difference between winning runs and a broken stick when you need it most.
Table of Contents
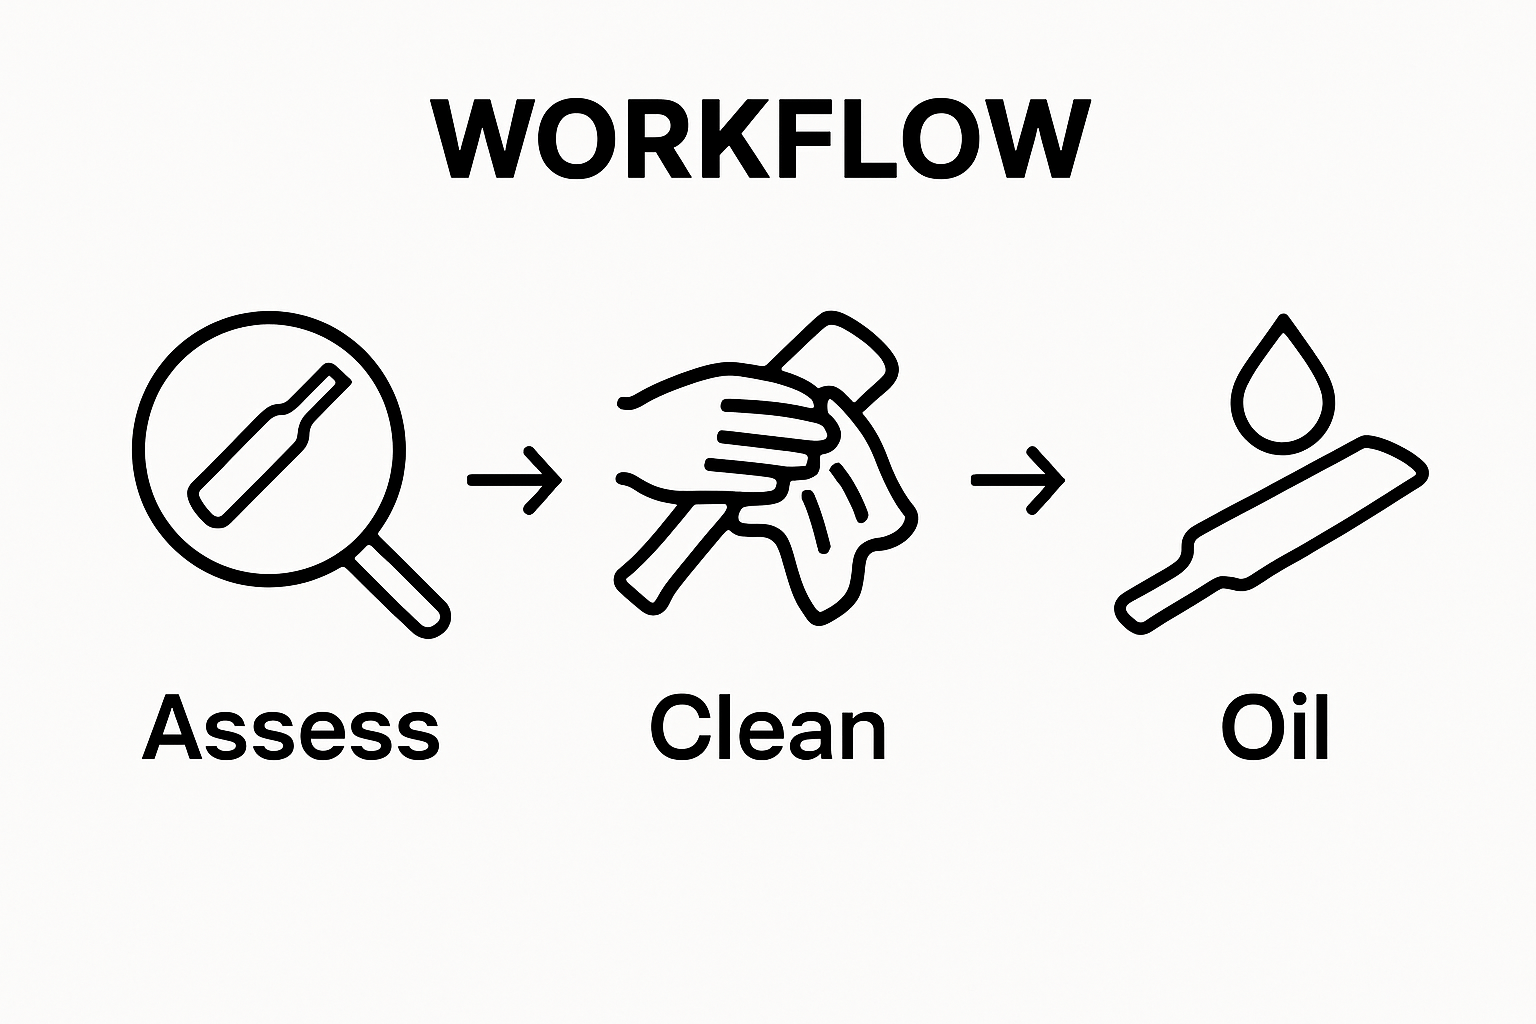
- Step 1: Assess The Condition Of Your Cricket Bat
- Step 2: Clean The Bat Properly Before Use
- Step 3: Apply Protective Oil For Longevity
- Step 4: Store The Bat Correctly When Not In Use
- Step 5: Inspect And Repair Regularly Before Matches
Quick Summary
| Key Point | Explanation |
|---|---|
| 1. Assess Bat Condition Thoroughly | Inspect for cracks and surface issues to prevent future damage and ensure longevity. |
| 2. Clean Bat Gently Before Use | Use soft cloths to remove dirt without harming wood; avoid excessive moisture. |
| 3. Apply Linseed Oil Carefully | Oil protects wood from moisture; use sparingly and evenly for best results. |
| 4. Store Bat Properly When Not in Use | Keep bat in stable temperature, vertical, and covered to avoid warping. |
| 5. Conduct Regular Inspections Before Matches | Check for damage and repair minor issues early to maintain performance. |
Step 1: Assess the Condition of Your Cricket Bat
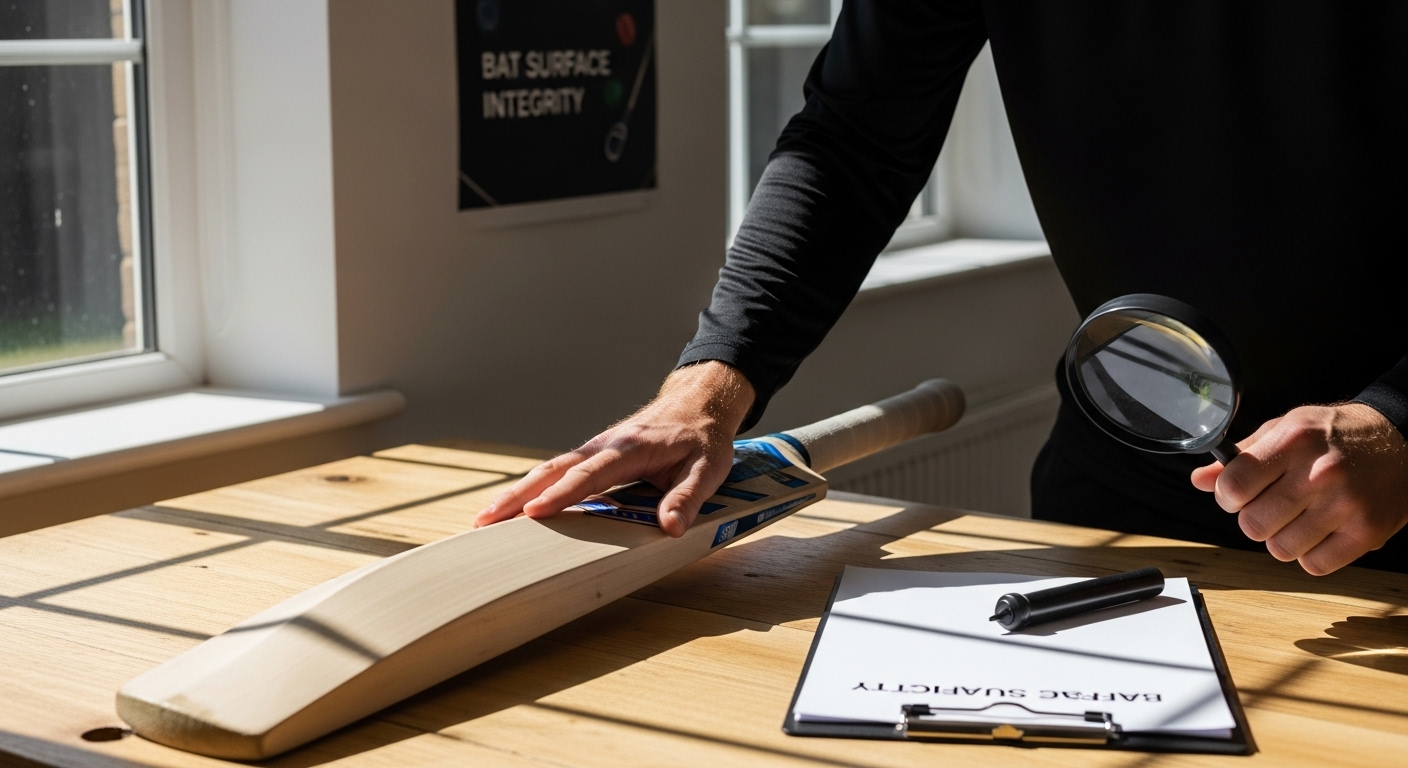
Before diving into bat maintenance, understanding your cricket bat’s current condition is crucial for developing an effective care strategy. A thorough initial assessment helps prevent future damage and extends your bat’s performance lifecycle. Start by examining your bat in good lighting, preferably natural daylight, which reveals subtle imperfections better than artificial illumination.
Begin with a comprehensive visual inspection, focusing on the bat’s surface integrity. Run your fingers gently along the bat’s face, checking for any hairline cracks, splinters, or unusual surface irregularities. Pay special attention to the edges and spine, as these areas experience the most significant impact during play. Minor surface imperfections can often be addressed early, preventing more substantial structural damage later.
Next, assess the bat’s wood condition and moisture levels. A well-maintained cricket bat should have consistent color and texture without signs of excessive dryness or warping. Check for any discoloration or soft spots that might indicate wood deterioration. If you notice uneven coloration or areas that seem softer than surrounding wood, this could signal potential internal damage requiring professional evaluation.
For players seeking more comprehensive guidance on bat selection and maintenance, explore our detailed cricket bat selection guide to understand what makes a high-quality cricket bat and how to preserve its performance.
Verification is key in this assessment phase. Create a quick checklist of critical observations:
- No visible cracks along bat’s face or edges
- Consistent wood color and texture
- No soft or unusually discolored areas
- Smooth surface without significant splinters
- Handle connection appears solid and intact
If your bat passes these initial checks, you are ready to proceed to the next maintenance steps.
 However, if you detect any significant issues during this assessment, consider consulting a professional cricket equipment specialist before attempting further repairs or maintenance.
Step 2: Clean the Bat Properly Before Use
Cleaning your cricket bat is a delicate process that requires precision and care. The goal is to remove dirt, debris, and potential contaminants without compromising the bat’s structural integrity or wood quality. Start by gathering soft, lint-free cloths and preparing a clean workspace with good lighting.
Begin with a dry cleaning approach. Use a soft, dry microfiber cloth to gently remove surface dust and loose particles. Move your cloth in smooth, consistent strokes along the bat’s grain, always working from the handle towards the toe. This technique prevents pushing dirt into the wood’s natural pores and minimizes potential scratching. Avoid using abrasive materials or excessive pressure, which could damage the bat’s delicate surface.
For more stubborn dirt or light grime, slightly dampen one section of your microfiber cloth with clean water. Crucial tip: The cloth should be just marginally damp, not wet. Excessive moisture can penetrate the wood and cause swelling or warping. Gently wipe the affected areas, immediately following with a dry cloth to absorb any remaining moisture. Pay special attention to areas around the edges and handle connection, where dirt tends to accumulate.
Our comprehensive cricket equipment maintenance guide offers additional insights into preserving your cricket gear’s quality and performance.
Verification is critical in this cleaning process. After cleaning, your bat should meet these key criteria:
- Surface appears clean without visible dirt or residue
- No water spots or moisture marks
- Wood maintains its original color and finish
- No scratches or abrasions from cleaning process
- Bat feels smooth to the touch
Remember that cleaning is not just about aesthetic appearance but also about maintaining your bat’s long-term performance. Improper cleaning can introduce microscopic damages that compromise the bat’s structural integrity. Always handle your cricket bat with clean hands and store it in a protective cover when not in use to minimize the need for intensive cleaning.
Step 3: Apply Protective Oil for Longevity
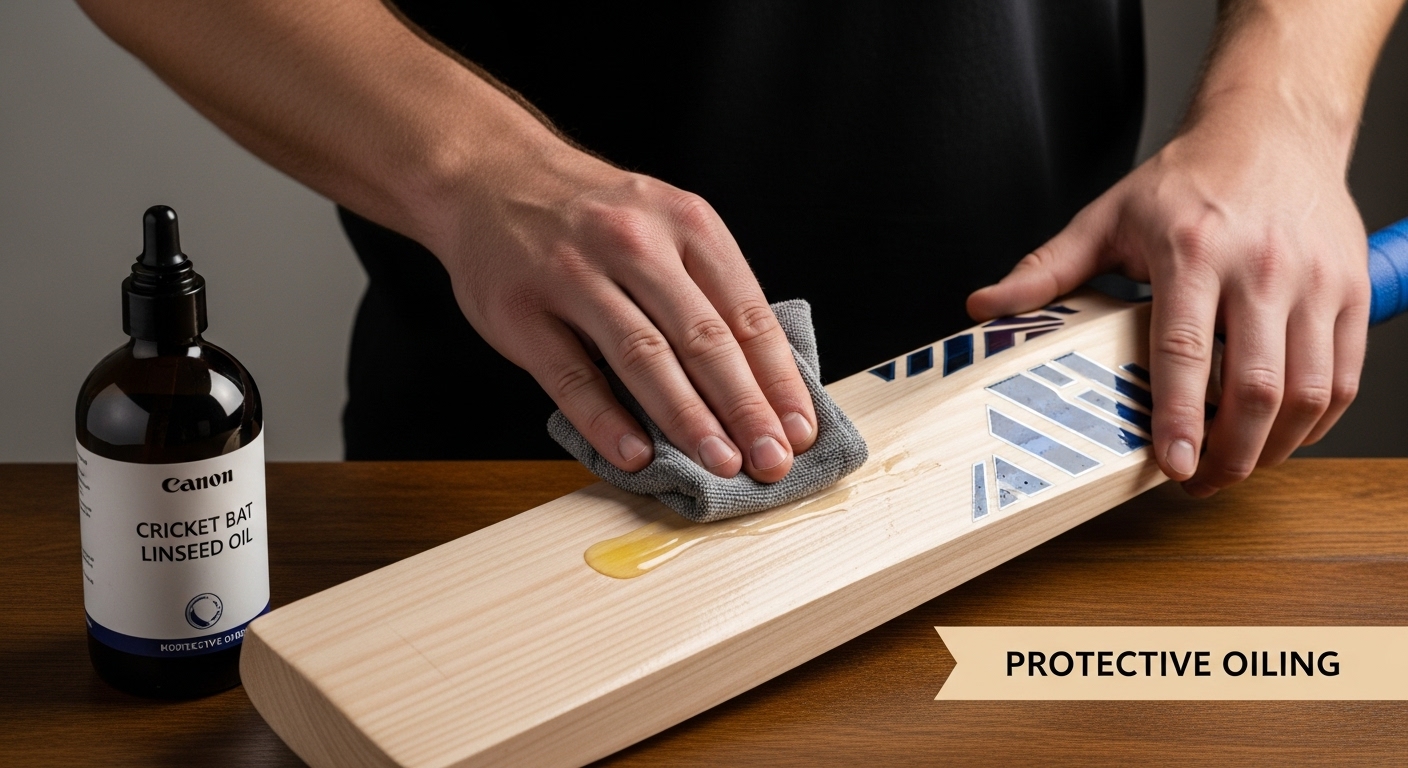
Protective oiling is a critical maintenance step that prevents wood dehydration and maintains your cricket bat’s structural integrity. This process creates a protective barrier that shields the willow from moisture fluctuations and potential environmental damage. The right oiling technique can significantly extend your bat’s performance lifespan and preserve its natural resilience.
Selecting the correct oil is paramount. Use specialized cricket bat linseed oil, which is specifically formulated for willow wood. Avoid household oils or generic alternatives that might penetrate incorrectly or cause wood degradation. Before application, ensure your bat is completely clean and dry from the previous maintenance steps. Temperature matters too – work in a room with moderate ambient conditions, avoiding extreme heat or cold that could affect oil absorption.
Application requires a measured, deliberate approach. Start by pouring a small amount of linseed oil onto a clean, lint-free cloth. Important technique: Apply the oil using light, even strokes along the bat’s grain, working systematically from the handle towards the toe. Use minimal oil – a little goes a long way. Your goal is a thin, uniform layer that allows the wood to breathe while providing protection. Avoid saturating the wood, which can lead to unnecessary weight gain or potential structural compromise.
Explore our comprehensive guide on cricket bat selection and maintenance for more in-depth insights into professional bat care techniques.
Verification of proper oiling involves careful observation:
- Oil appears evenly distributed with no pooling
- Surface has a subtle, consistent sheen
- No excessive oil residue or dripping
- Wood maintains its original color
- Bat feels smooth but not greasy
After application, allow the bat to rest in a cool, dry environment for several hours. This resting period enables the oil to absorb gradually, creating a natural protective barrier. Repeat this oiling process sparingly – typically 2-3 times per season – to maintain optimal wood condition without oversaturating the bat.
 Remember, cricket bat maintenance is about balance and careful, thoughtful intervention.
Step 4: Store the Bat Correctly When Not in Use
Proper storage is the final guardian of your cricket bat’s longevity, protecting your investment from environmental damage and structural degradation. The ideal storage environment mimics stable, moderate conditions that prevent wood warping, moisture accumulation, and unnecessary stress on the bat’s delicate structure.
Temperature and humidity control are critical factors in bat preservation. Select a storage location with consistent temperature, ideally between 15-20 degrees Celsius, avoiding areas prone to dramatic temperature fluctuations like attics, garages, or near heating vents. Humidity should remain around 50-55%, which prevents wood from becoming too dry or absorbing excessive moisture. Direct sunlight and extreme heat can cause wood fibers to contract and expand unpredictably, potentially leading to internal stress and eventual cracking.
Invest in a high-quality bat cover or protective case that offers breathable protection. Positioning matters significantly – store your bat vertically in its cover, with the handle pointing upwards. This orientation prevents unnecessary pressure on the bat’s spine and reduces the risk of warping. Avoid leaning the bat against walls or leaving it horizontally for extended periods, as these positions can cause structural misalignment. If you do not have a dedicated bat cover, wrap the bat loosely in a clean, breathable cloth that allows minimal air circulation while protecting against dust and minor environmental fluctuations.
For more comprehensive equipment protection strategies, check out our cricket equipment maintenance guide.
Verify your storage setup meets these critical criteria:
- Consistent room temperature
- Away from direct sunlight
- Vertical storage position
- Protected by breathable cover
- No proximity to heating or cooling sources
- Humidity levels between 50-55%
Regular inspection remains crucial even during storage. Every few weeks, remove the bat from its cover, inspect for any developing issues, and briefly air it out. This proactive approach allows early detection of potential problems like emerging cracks, subtle wood changes, or unexpected moisture buildup.
To help you verify that each maintenance step is performed correctly, use this table to quickly review the key inspection and completion criteria for each stage of cricket bat care.
| Step | Verification Checklist Item | What to Look For |
|---|---|---|
| Assess Bat Condition | Surface integrity and handle connection | No cracks, soft spots, or splinters |
| Clean Bat | Cleanliness without damage | No visible dirt, no water spots, smooth |
| Apply Protective Oil | Even, thin oil application | Subtle sheen, no pooling or residue |
| Store Bat | Storage environment and positioning | Vertical, breathable cover, right climate |
| Inspect and Repair Regularly | Pre-match check of major structural areas | No new cracks, consistent color, balance |
| Remember, your cricket bat is a precision instrument that requires thoughtful, consistent care both on and off the playing field. |
Step 5: Inspect and Repair Regularly Before Matches
Regular inspection and timely repairs are the cornerstone of maintaining your cricket bat’s performance and preventing catastrophic damage during critical match moments. This proactive approach transforms potential equipment failures into manageable maintenance tasks, ensuring your bat remains competition-ready.
Pre-match inspection requires systematic and thorough examination. Begin with visual assessment under bright, natural light, carefully examining the bat’s entire surface. Focus on areas experiencing maximum stress during play: bat edges, spine, and handle connection points. Look for subtle signs of wear that might not be immediately apparent, such as hairline cracks, slight wood separation, or minor splinter development. Run your fingers gently along the bat’s surface, feeling for irregularities that visual inspection might miss. Pay special attention to the bat’s edges, which absorb significant impact during gameplay and are most susceptible to structural compromise.
When minor damages are detected, address them promptly and strategically. Small surface cracks or slight edge damage can often be mitigated using specialized wood repair compounds designed for cricket bats. Apply these compounds sparingly, following manufacturer instructions precisely. For deeper structural issues or significant wood damage, consulting a professional cricket equipment specialist becomes crucial. Amateur repairs can potentially worsen bat damage if not executed with professional-grade knowledge and tools.
For comprehensive guidance on maintaining your cricket equipment, explore our detailed equipment maintenance resource.
Ensure your pre-match inspection covers these critical verification points:
- No visible cracks along bat’s edges or face
- Handle connection remains solid and intact
- Wood surface maintains consistent color and texture
- No soft or unusually discolored areas
- Bat weight and balance feel uniform
Remember that each inspection is an opportunity to understand your bat’s unique characteristics. Developing a keen eye for subtle changes helps you anticipate potential issues before they escalate. Treat your cricket bat as a precision instrument, requiring regular, thoughtful maintenance.
By dedicating time to careful inspection and timely intervention, you significantly extend your bat’s competitive lifespan and maintain its optimal performance potential.
Upgrade Your Bat Care Routine With CricketKingdom.co.uk
You put in the work practicing good bat care, but even with careful inspections and regular oiling, small mistakes can shorten your bat’s lifespan. Many players struggle to find the right maintenance essentials and feel uncertain about tools or replacement gear when problems arise. If you’re tired of worrying about cracks, missed inspections, or keeping your bat match-ready, we have you covered.

Why settle for guesswork? At CricketKingdom.co.uk, you get more than just equipment. Discover a wide selection of professional-grade bats, maintenance kits, and accessories that help you check every item on your cricket bat care checklist. Shop with confidence knowing you can access exclusive perks like free bat knocking and oiling for high-value bats, fast shipping, and expert customer support. Make your next season your strongest yet—visit CricketKingdom.co.uk today and give your cricket bat the ultimate protection it deserves.
Frequently Asked Questions
How can I assess the condition of my cricket bat?
To assess the condition of your cricket bat, begin with a thorough visual inspection in good lighting. Look for hairline cracks, splinters, and surface irregularities, especially at the edges and spine. Check the wood’s color and texture for consistency, and ensure there are no soft or discolored areas that may indicate deterioration.
What is the best way to clean my cricket bat?
To clean your cricket bat, start with a soft, dry microfiber cloth to remove loose dust and debris. For stubborn grime, slightly dampen the cloth with clean water and gently wipe the affected areas, ensuring you follow up with a dry cloth. Always avoid excess moisture to prevent damage to the wood.
Why is applying protective oil important for my cricket bat?
Applying protective oil, specifically linseed oil, helps to prevent wood dehydration and creates a barrier against moisture fluctuations. This maintenance step is crucial for extending your bat’s performance lifespan and maintaining its structural integrity.
How should I store my cricket bat when not in use?
Store your cricket bat in a cool, dry environment, ideally at a consistent temperature of 15-20 degrees Celsius and humidity around 50-55%. Use a breathable cover, position the bat vertically with the handle up, and avoid areas with direct sunlight or extreme temperature changes.
Recommended
- 9 Essential Items for Your Cricket Equipment Checklist – The Cricket Kingdom
- Essential Cricket Equipment in the UK: Must-Have Gear for Every Cricketer – The Cricket Kingdom
- Ultimate Guide to Choosing the Right Cricket Bat | the Cricket Kingdom
- How to Choose Cricket Bat: A Step-by-Step Guide for Players – The Cricket Kingdom